Installing a Cellular Antenna on a Travel Trailer

Since we recently moved, I had to get another antenna and install it all over again. This time I felt more like a pro doing it since I was prepared. I hope this helps someone!
The first time around, I used MobileMustHave’s video as a guide and it went really well. Here is the video link:


We already had the router, a Peplink Pepwave BR1 Pro 5G cellular router, and the antenna, a Peplink Pepwave Mobility 42G. I go into some more detail about why I picked the equipment in my other post.

This may be overkill for most users, but when working full time remotely I would like to have the ability to use 5G. A 4G LTE cellular router may be all you need, and it would be about a third of the price. Consider your specific requirements before purchasing.
Supplies
To get started, gather your materials and supplies:
- Cordless drill
- A long (12”) 3/8” drill bit
- A hole saw (I used 2”)
- Black permanent marker
- A mild or diluted soap mixture
- A clean rag or scrub brush
- A razor blade with a new blade preferably
- Tape measure
- Caulk gun
- Self-leveling lap sealant
And of course, the antenna.
Placement
Next, we have to consider where to place the antenna on the roof and inside. In our last rig, I was able to install it inside the cabinets above where I was already working. Now, in this one, I couldn’t install it in the cabinets close to my workspace because a solar panel is in the way. My desk is where the Tri-Fold Sofa was in the bunkhouse portion.
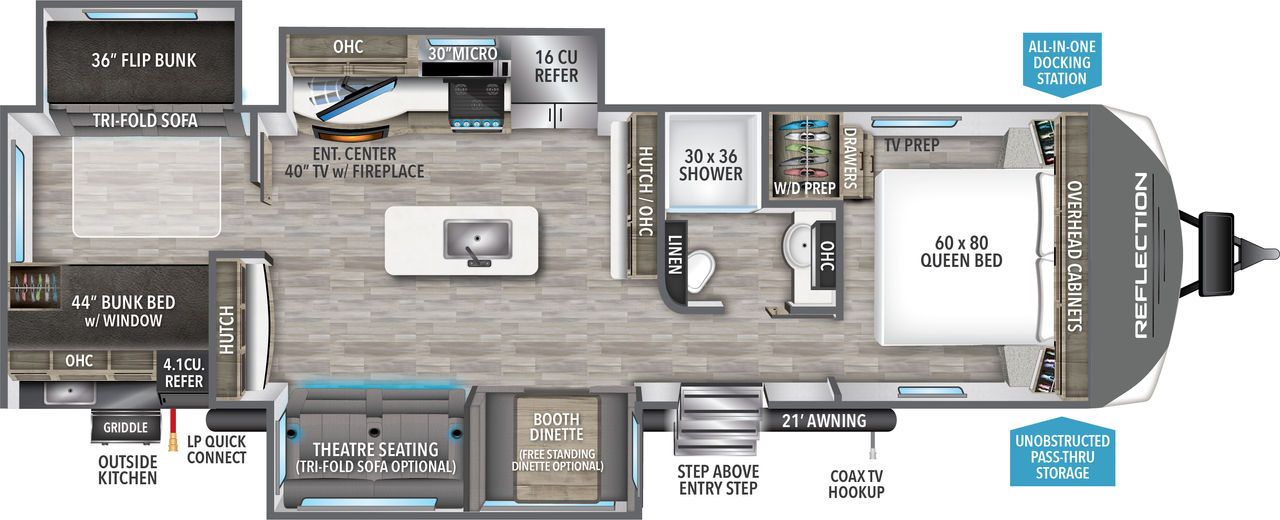
Out of all the places to put it, I chose the overhead cabinets in the kitchen thats about 20 feet away from my desk. Not ideal because now I’ll have to run a cable for the best connectivity. However it is ideal for wireless coverage, having it pointed down and in the middle of the rig.
I used the fan as a reference and measured from its edge to the spot where I wanted it installed in the cabinet. Then I measured from the edge of the outside wall to where I wanted it installed. I wrote those measurements down and brought them up with me to install the antenna.
Installation
The goal is to only go on the roof when you have to, and for this we need to make two trips.
On the first trip, bring up the drill, long drill bit, hole saw, marker, measuring tape, and razor blade.
Up on the roof, measure from your reference points (twice) and verify you have enough room for the antenna. For the Mobility 42G that’s 7 inches in diameter, I need about a 10” diameter circle of space on the roof. Make sure to measure and adapt your plan if the space won’t work.
Clean the area thoroughly with the mild diluted soap and rag or scrub brush. Dry the area well.
Mark the center of where you want the hole with the marker.
Then take the hole saw, line up the middle drill bit with the center mark, and roll the edge on the roof to leave a circular impression. Use the marker to draw it out.
Use the razor blade to cut out just enough of the rubber roof for the pilot hole from the center mark.
Use the drill and long drill bit to drill the pilot hole through the roof and the ceiling.
Then cut out the rubber from the circle so that the hole saw is only cutting through wood.
Attach the hole saw to the drill, and drill out the hole from the roof. Cut into the insulation with the razor blade and try to spread it out a bit so the cables can pass through. Go ahead and brush off the saw dust before heading back down for the inside part. Take everything down with you.
Inside, use the pilot hole to line up the hole saw and drill out the inside hole. Now we have the hole we need!
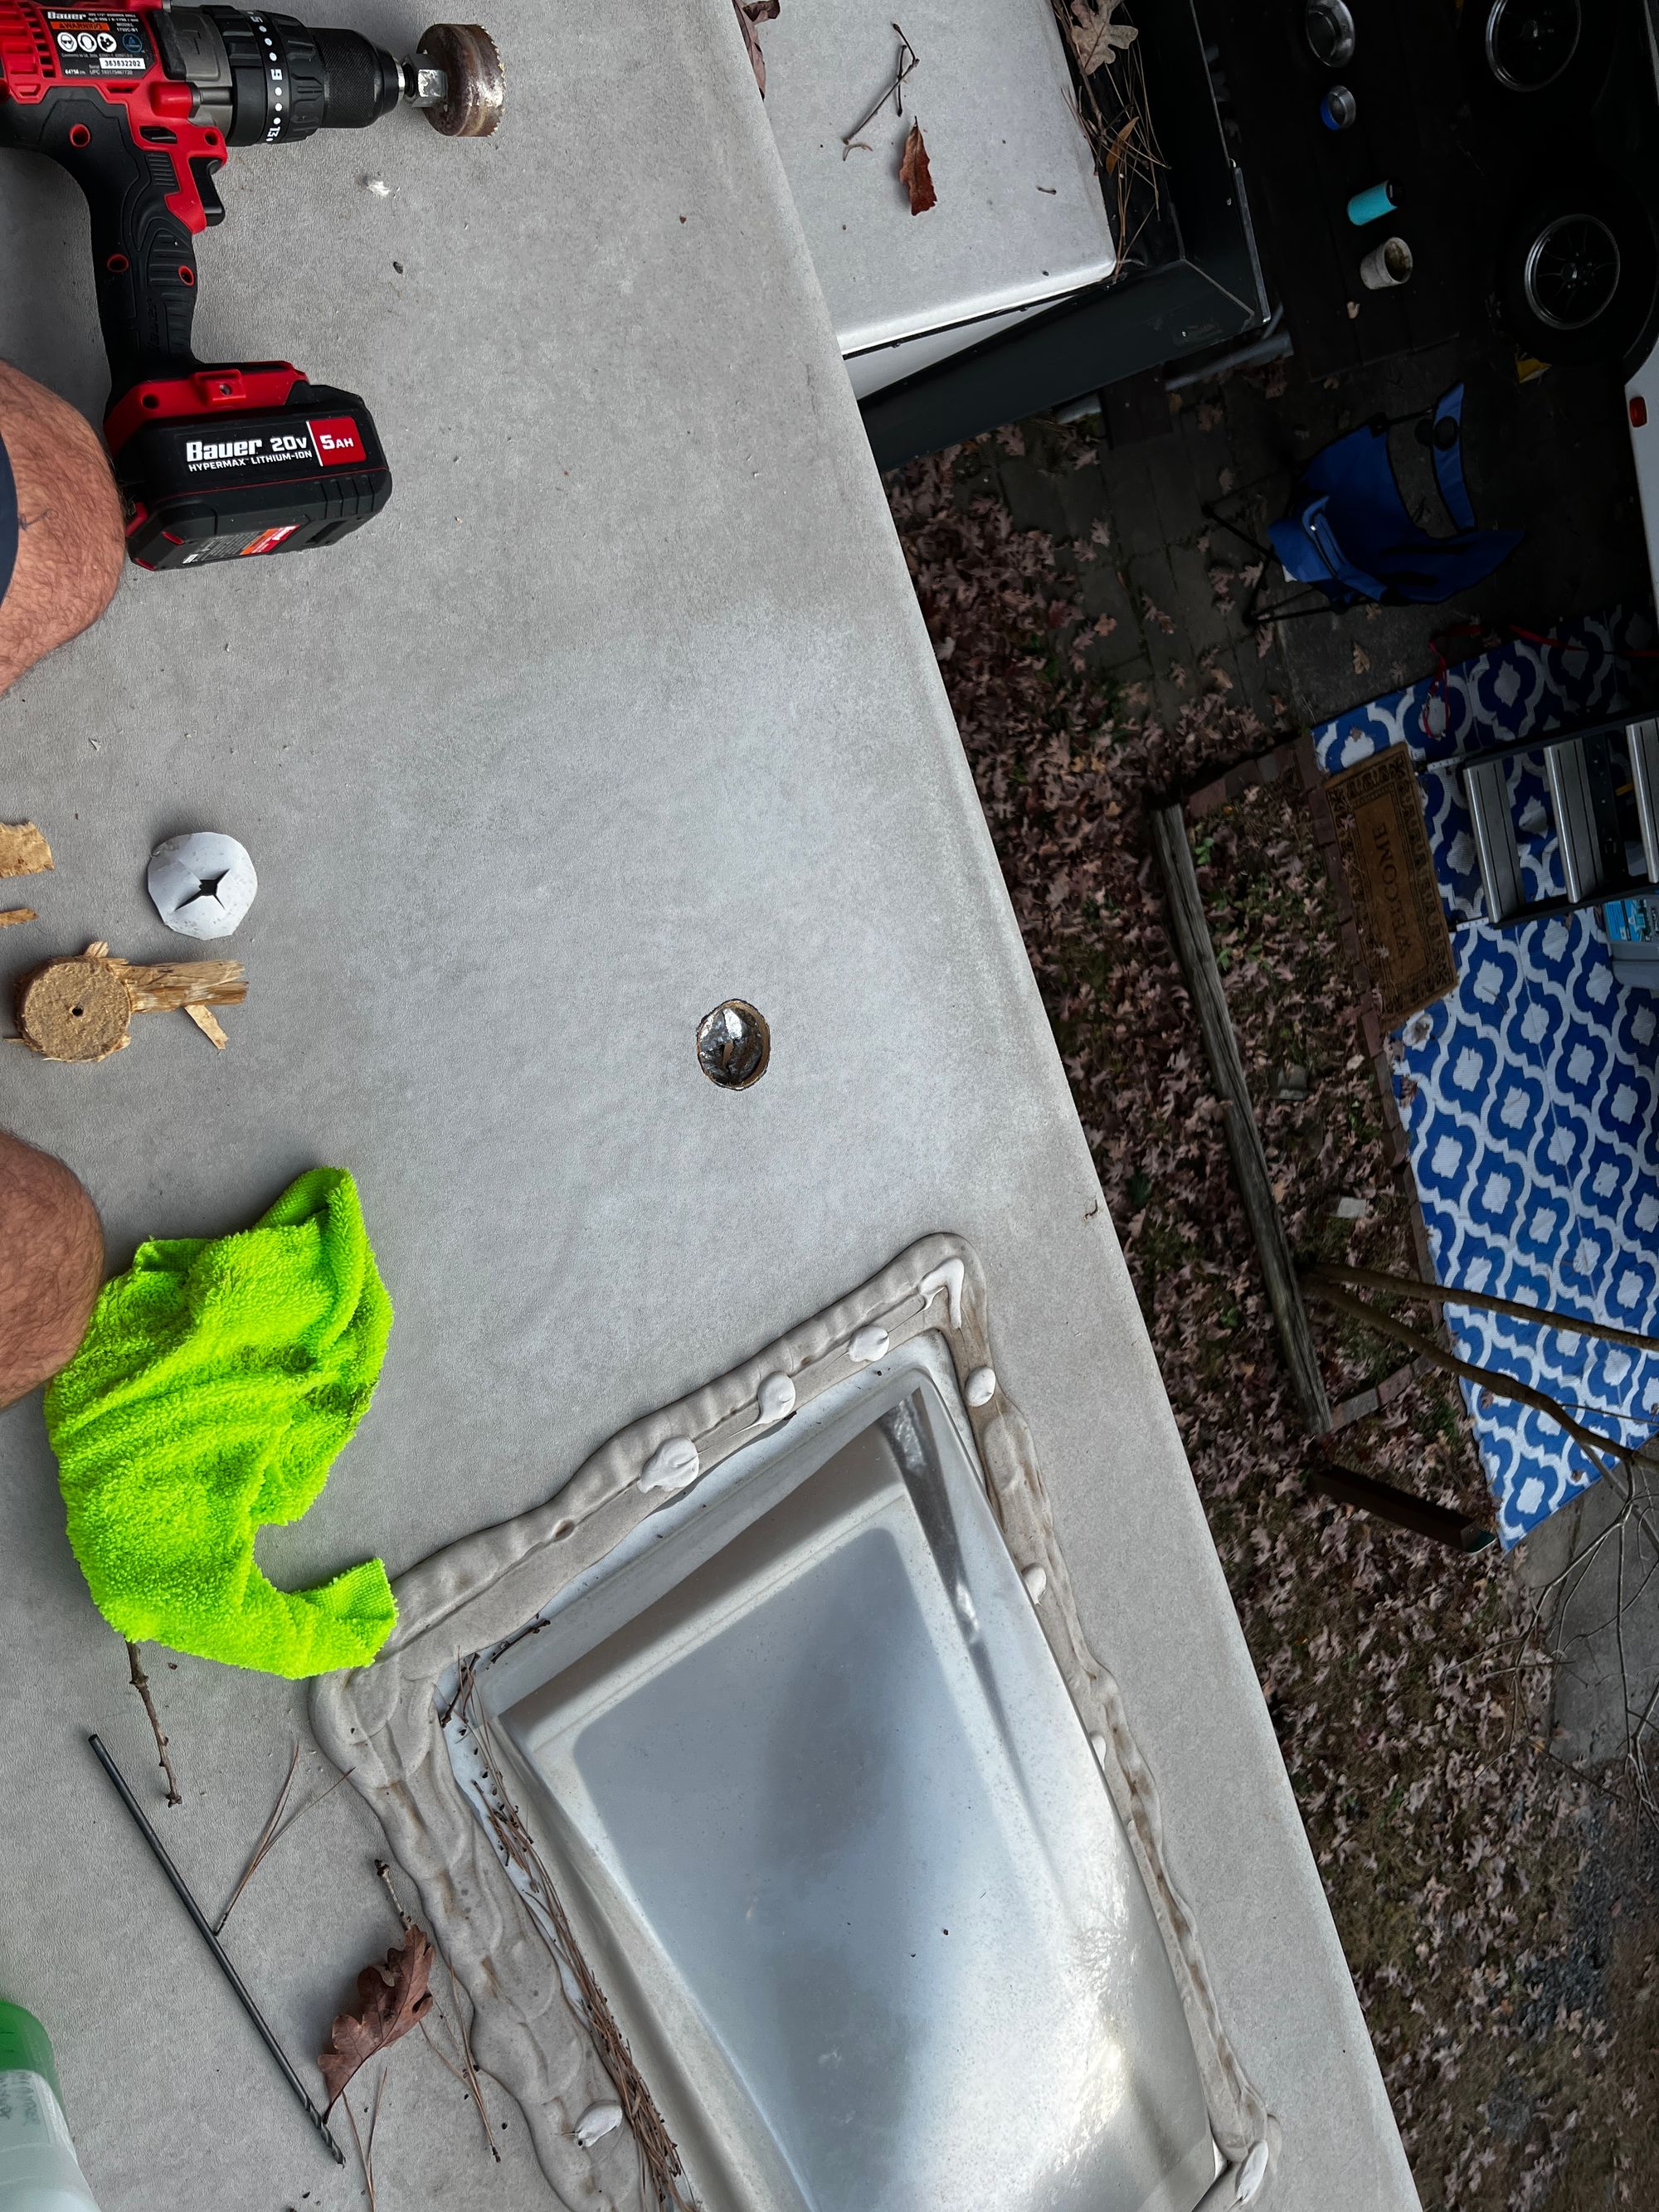
Now gather what you need for the next trip up to the roof. Prepare the sealant on the caulk gun before going up. Grab the sealant in the caulk gun, the antenna, and head up to the roof. You may also want to bring a rag or microfiber cloth and some isopropyl alcohol to really clean off the area for the adhesive.
I also used a plastic bag from the antenna packaging and a small zip tie to secure the connectors and keep them clean while pushing them through the roof.
Go up on the roof, and clean off the area with isopropyl alcohol. Feed the cables through. Peel off the split backing for the adhesive facing the antenna and attach it to the antenna.
Now the intimidating part. Peel off the adhesive backing facing the roof and carefully place it down. Press down on it for about 30 seconds to make sure it’s really stuck on there.
Apply a good amount of sealant to the outer edge of the antenna, I put about an inch all the way around and made sure I got up under the bottom edge.
Now we can go back inside and deal with the cable….
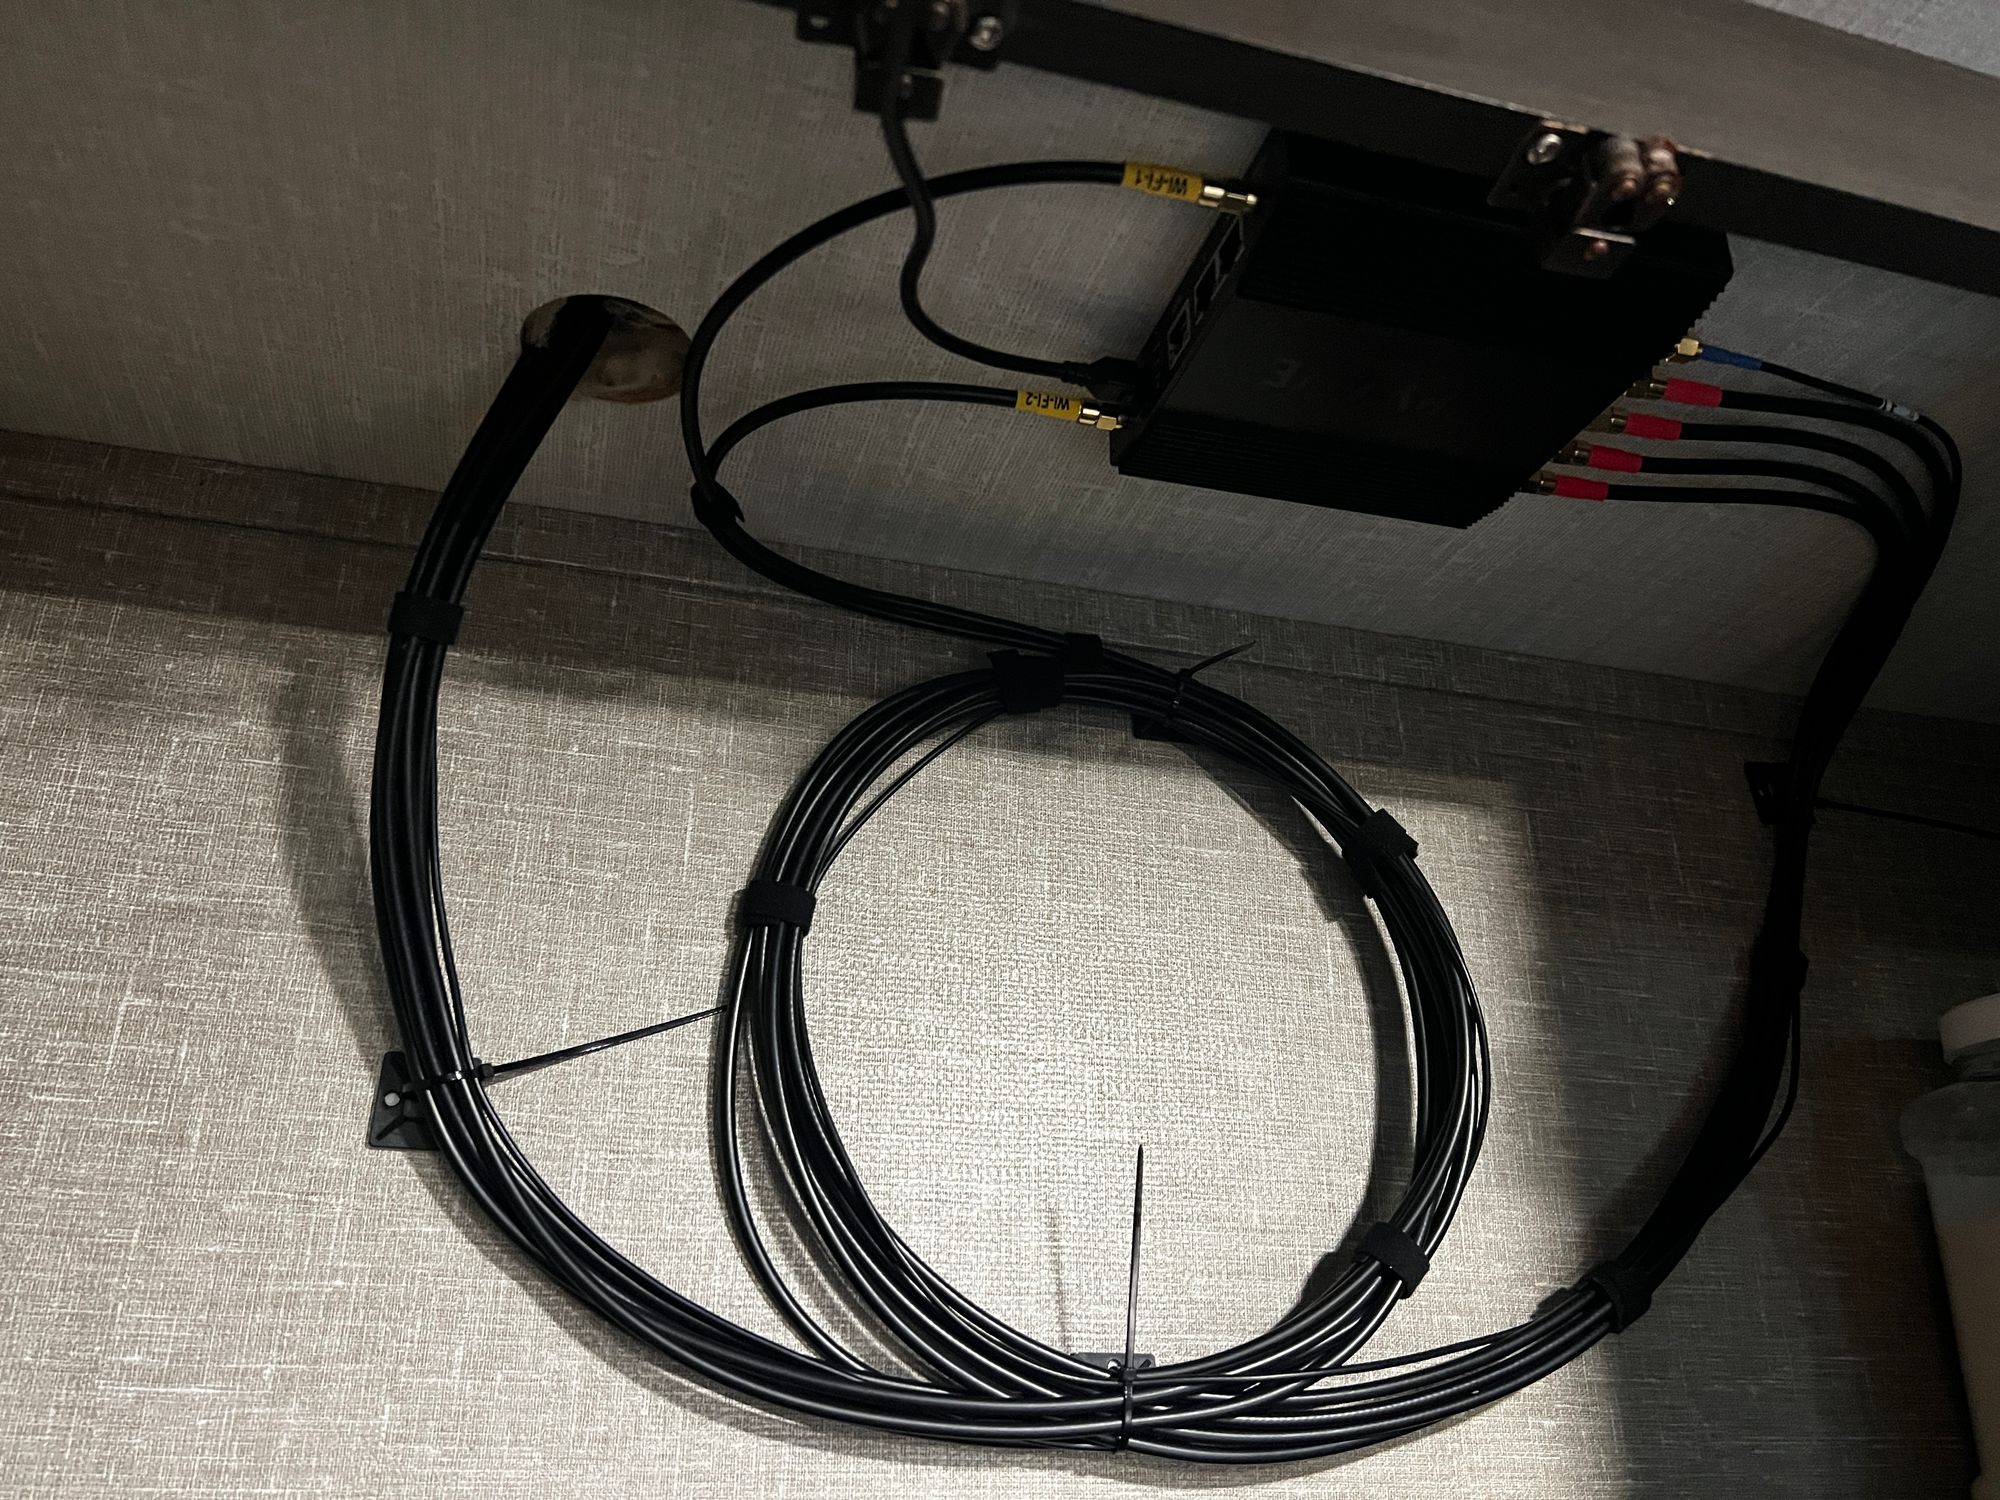
Cable management
It took me about 30-45 minutes to install the antenna, and then another 30-45 minutes to manage the cables if that says anything.
With antenna cables like these, we have to keep in mind that they can only bend so much and cannot exceed a certain bend radius. The cables also cannot be too twisted, which can be difficult to deal with.
I used some of a 1/2” Velcro roll to organize the cables as I was working them into place. This took a lot of trial and error.
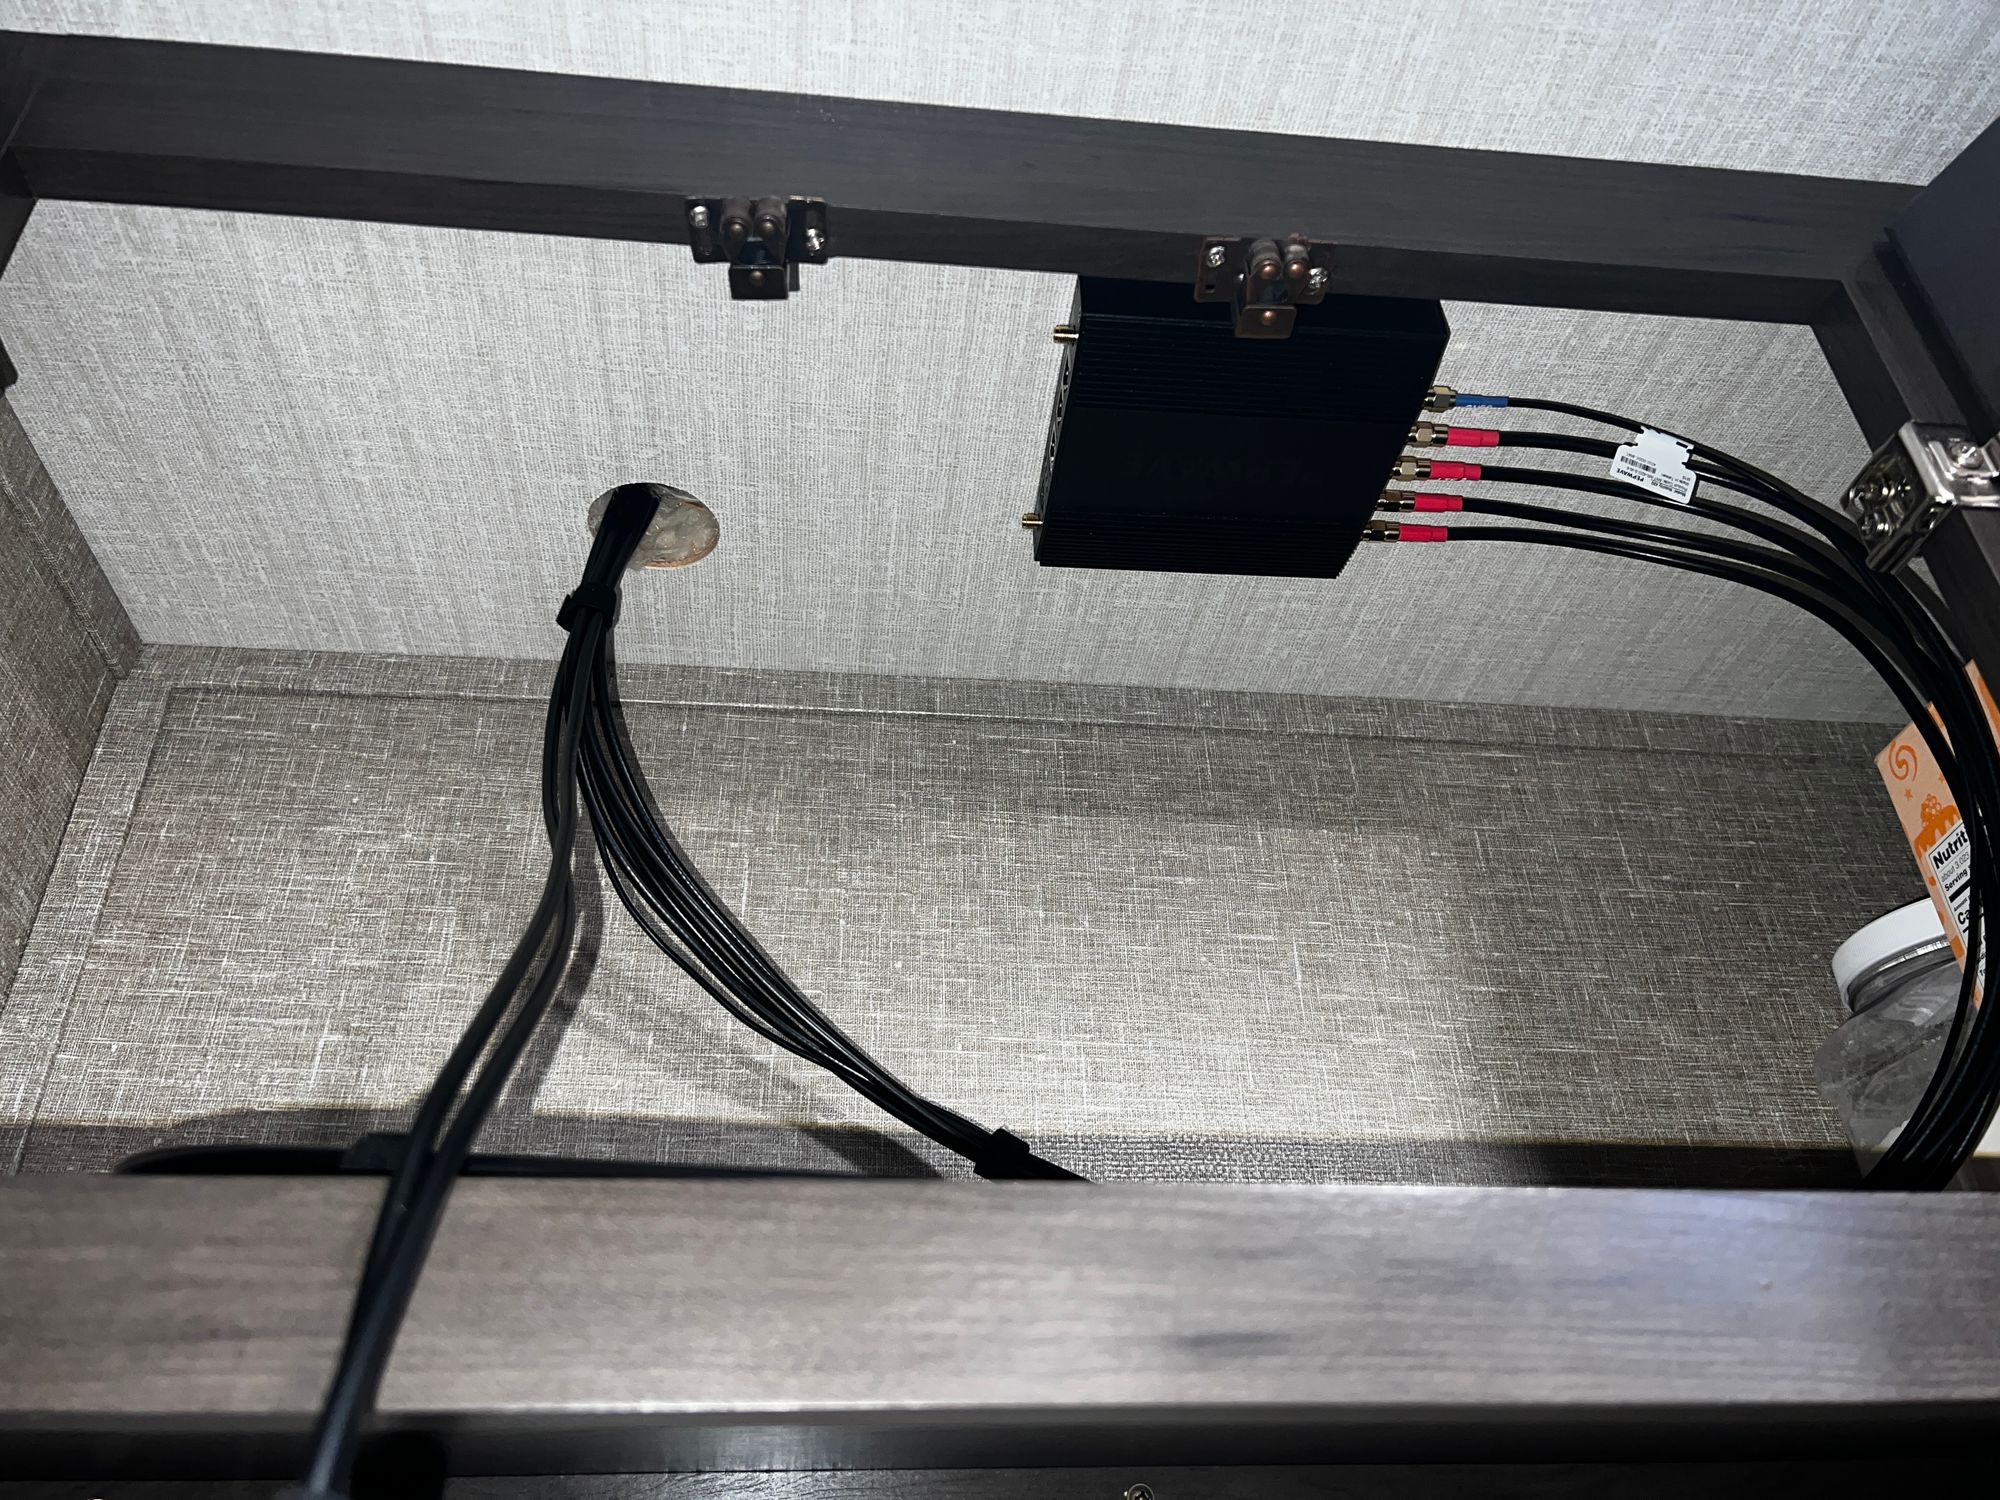
Once I got them into the shape I wanted, I used adhesive zip tie anchors and loose zip ties to hold the cables generally in place. Then massaged the cables until they were as relaxed as they could be.. within the cable management. And finally cinched down on the zip ties.
Then I’ll need to run the power cables and Ethernet cables, and that will come in a future blog post.
Thanks for reading!